A secondary goal of this project is to explore the aesthetic potential of our in house making processes.
Here is the overall progression of the course:

The idea is that students gradually move towards microchips but first understand some of their subsystems and the things that they cannot do (amplify sound, for instance). Further to the end of the course compound projects are introduced which combine several different skills put to a specific application.


They go hand in hand with this basic electronics course:


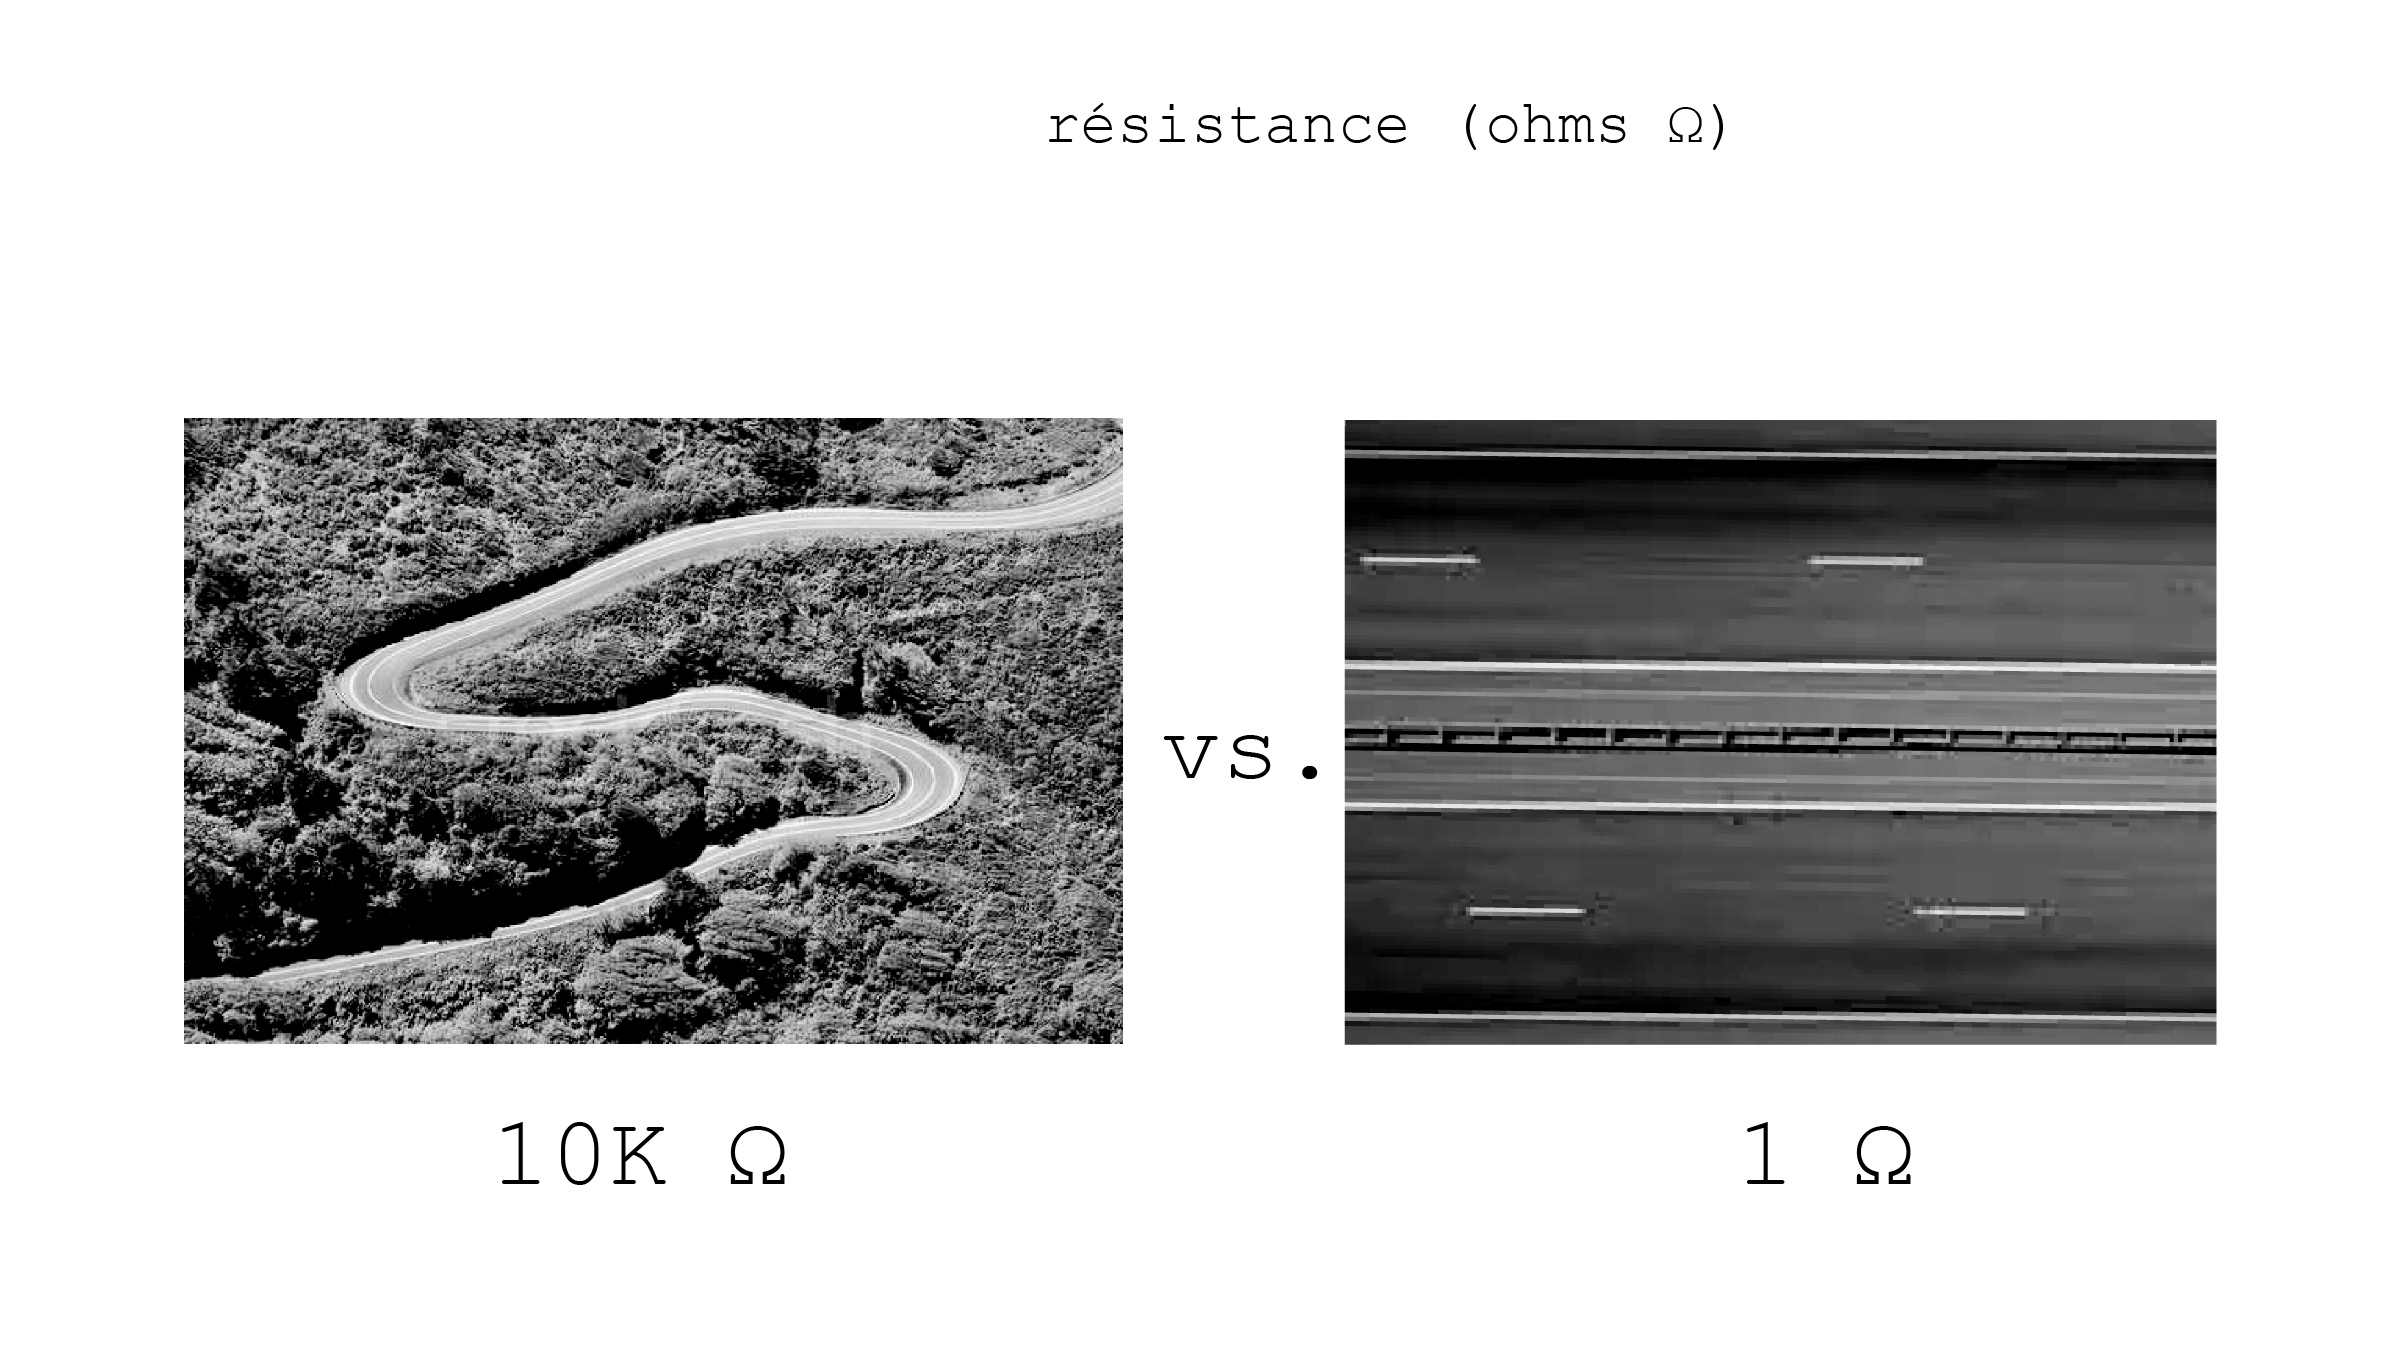
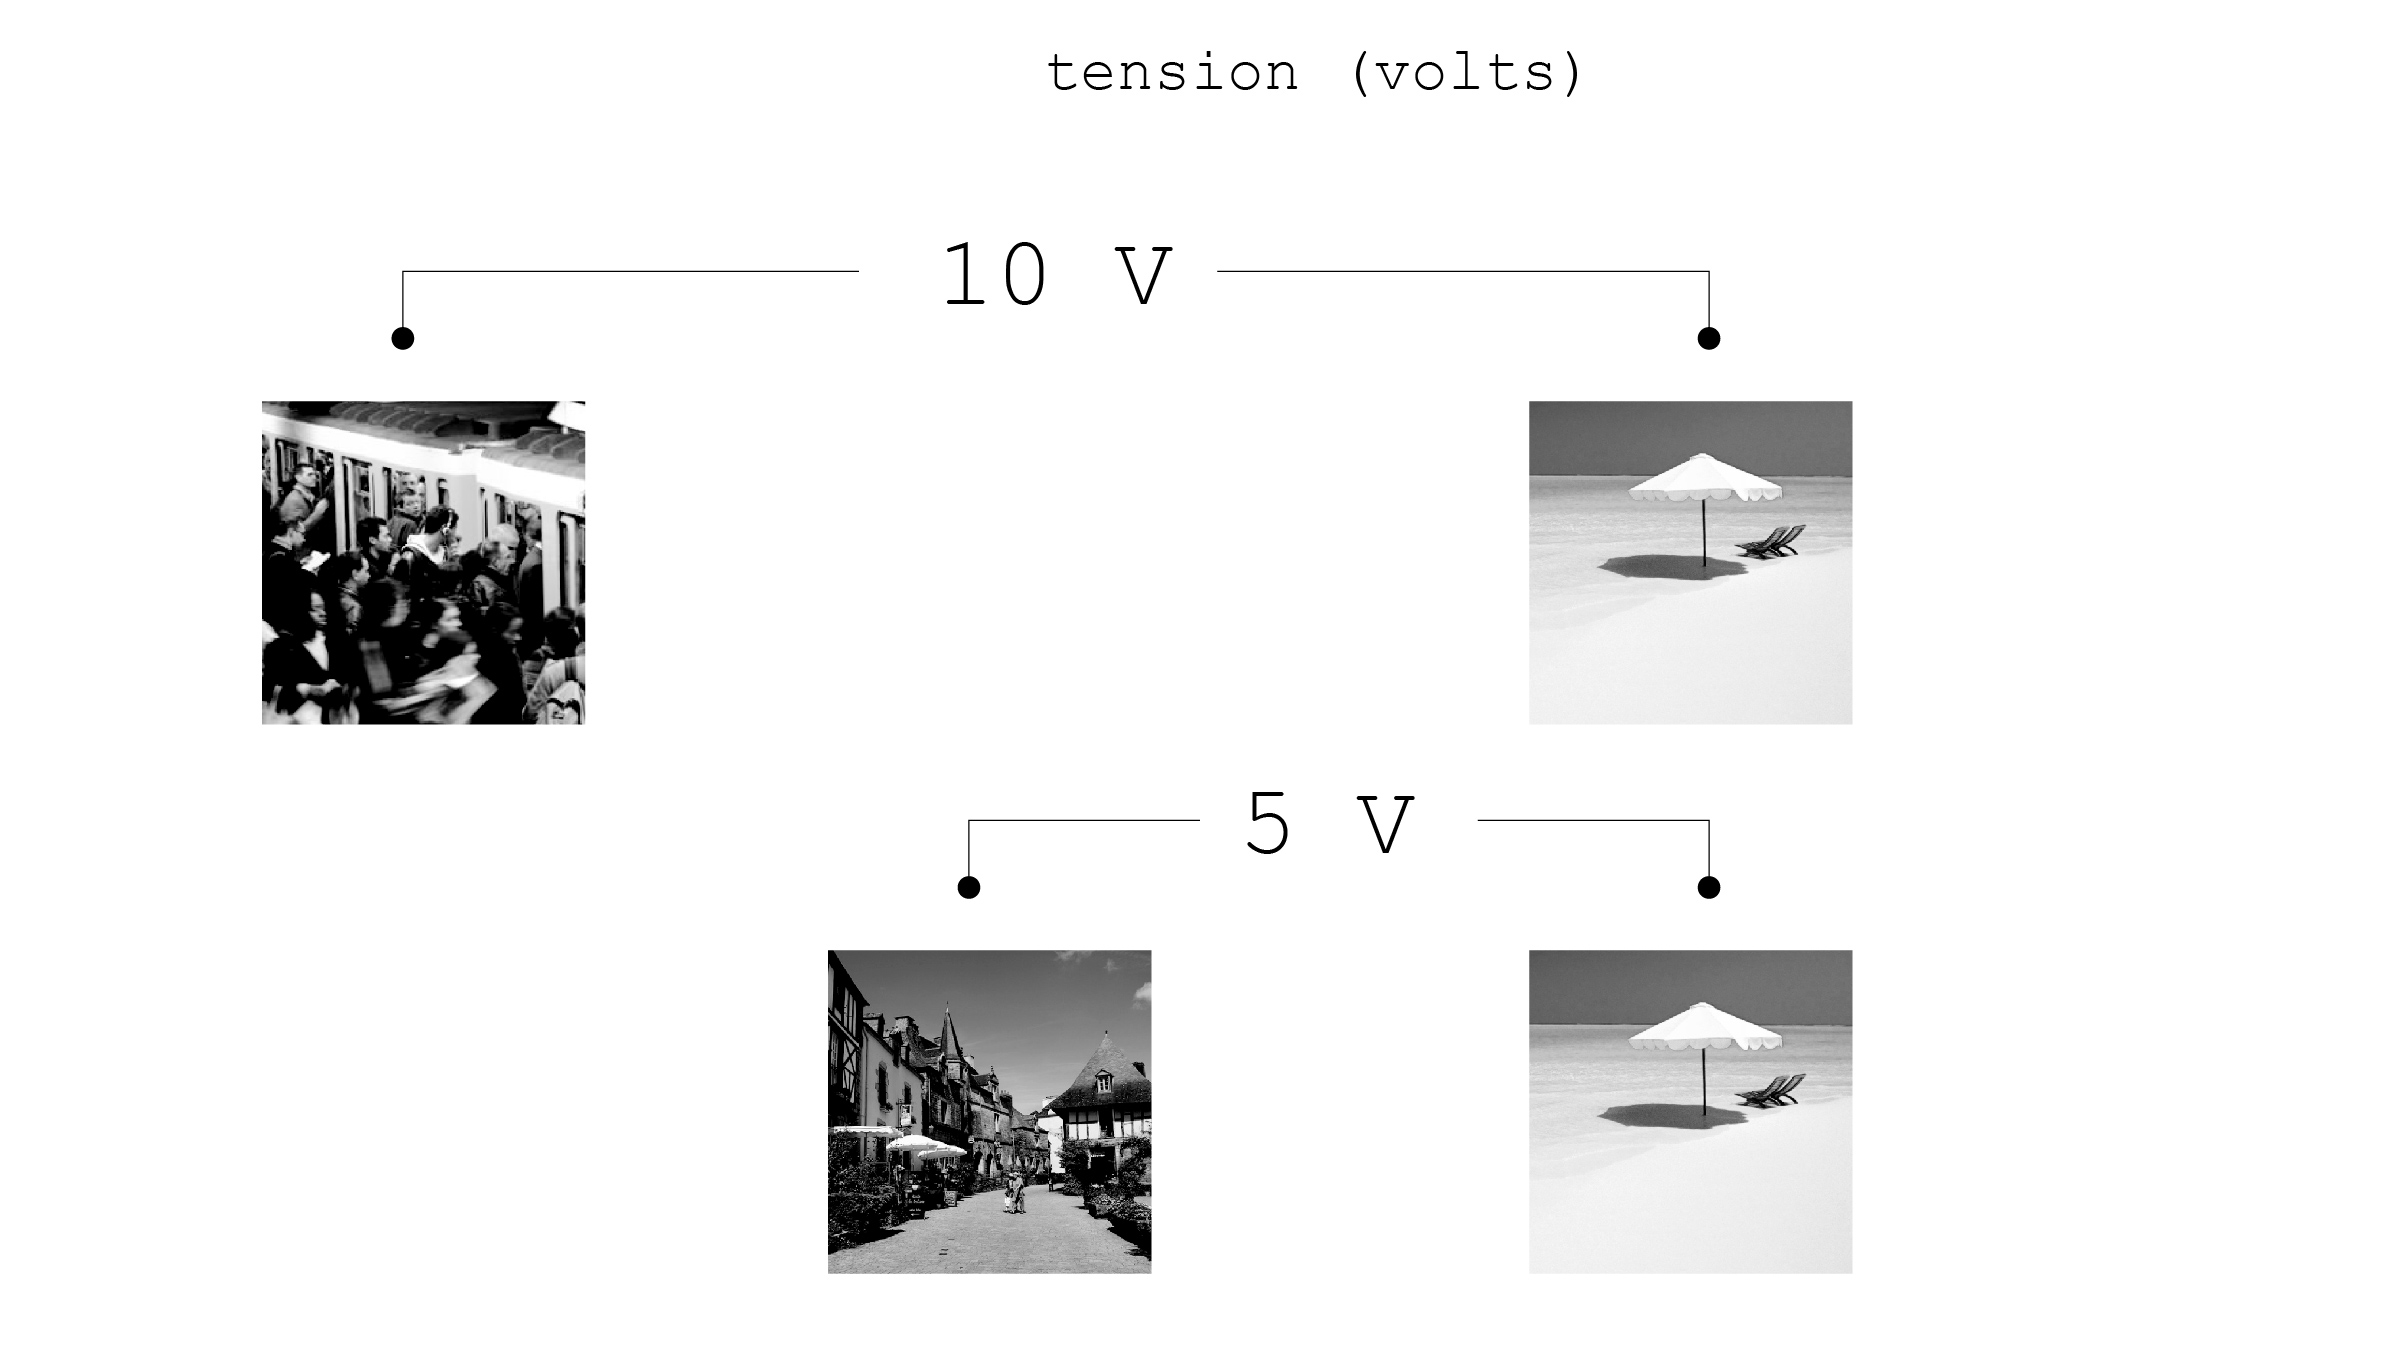
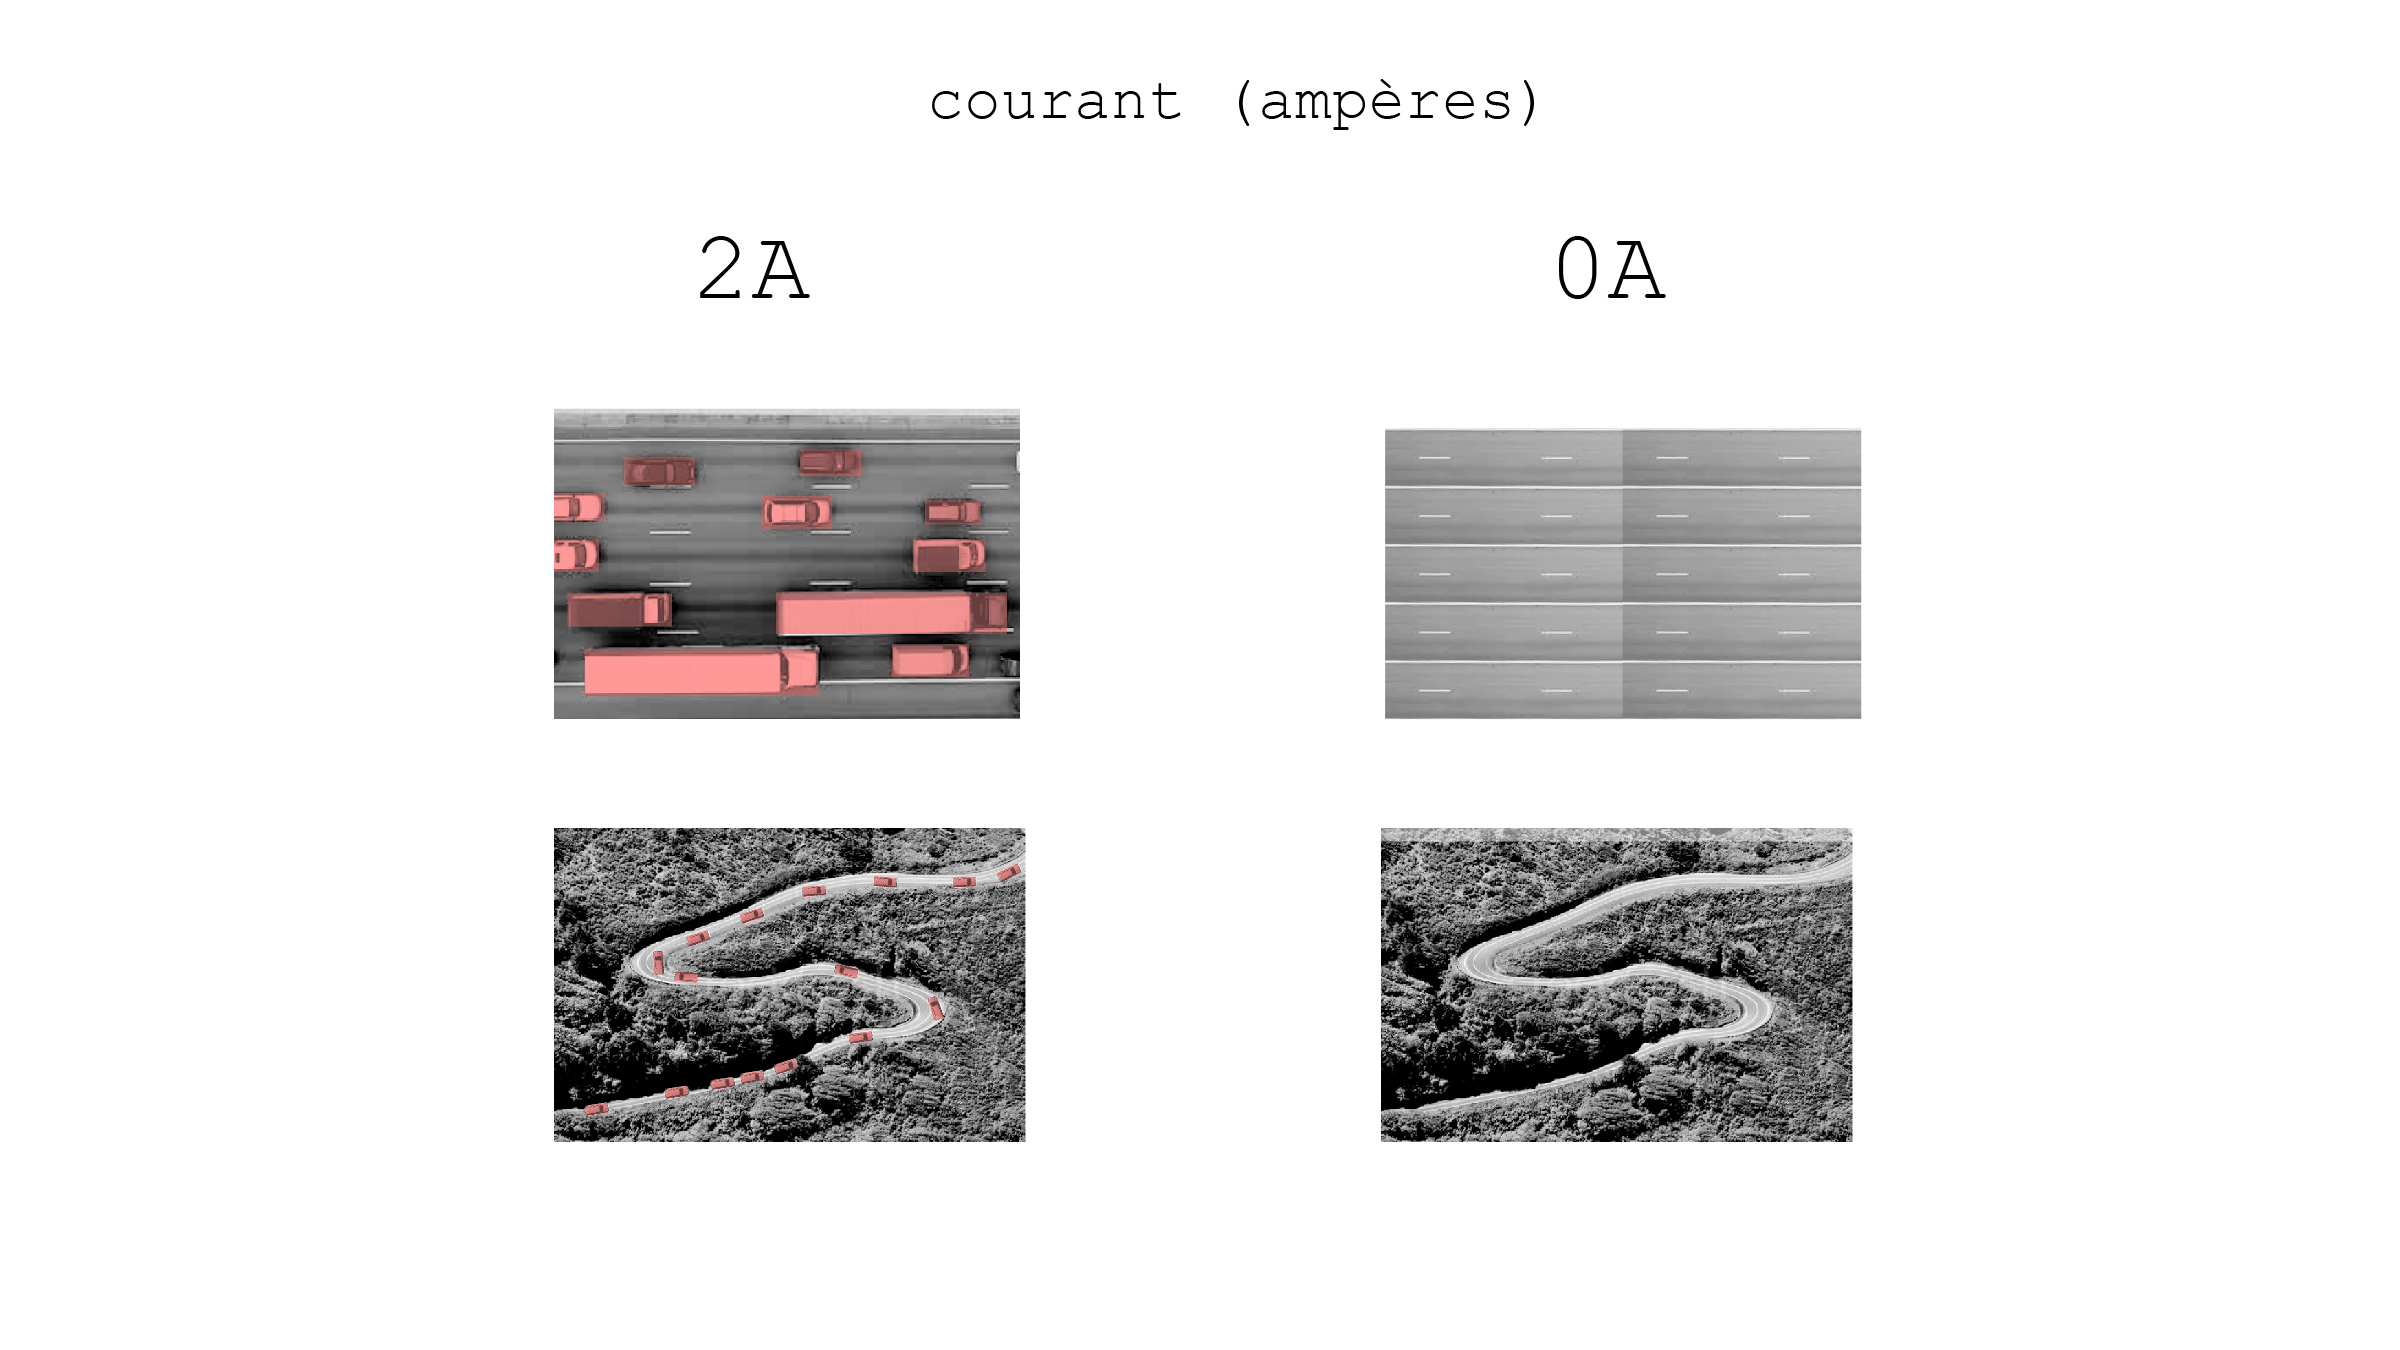
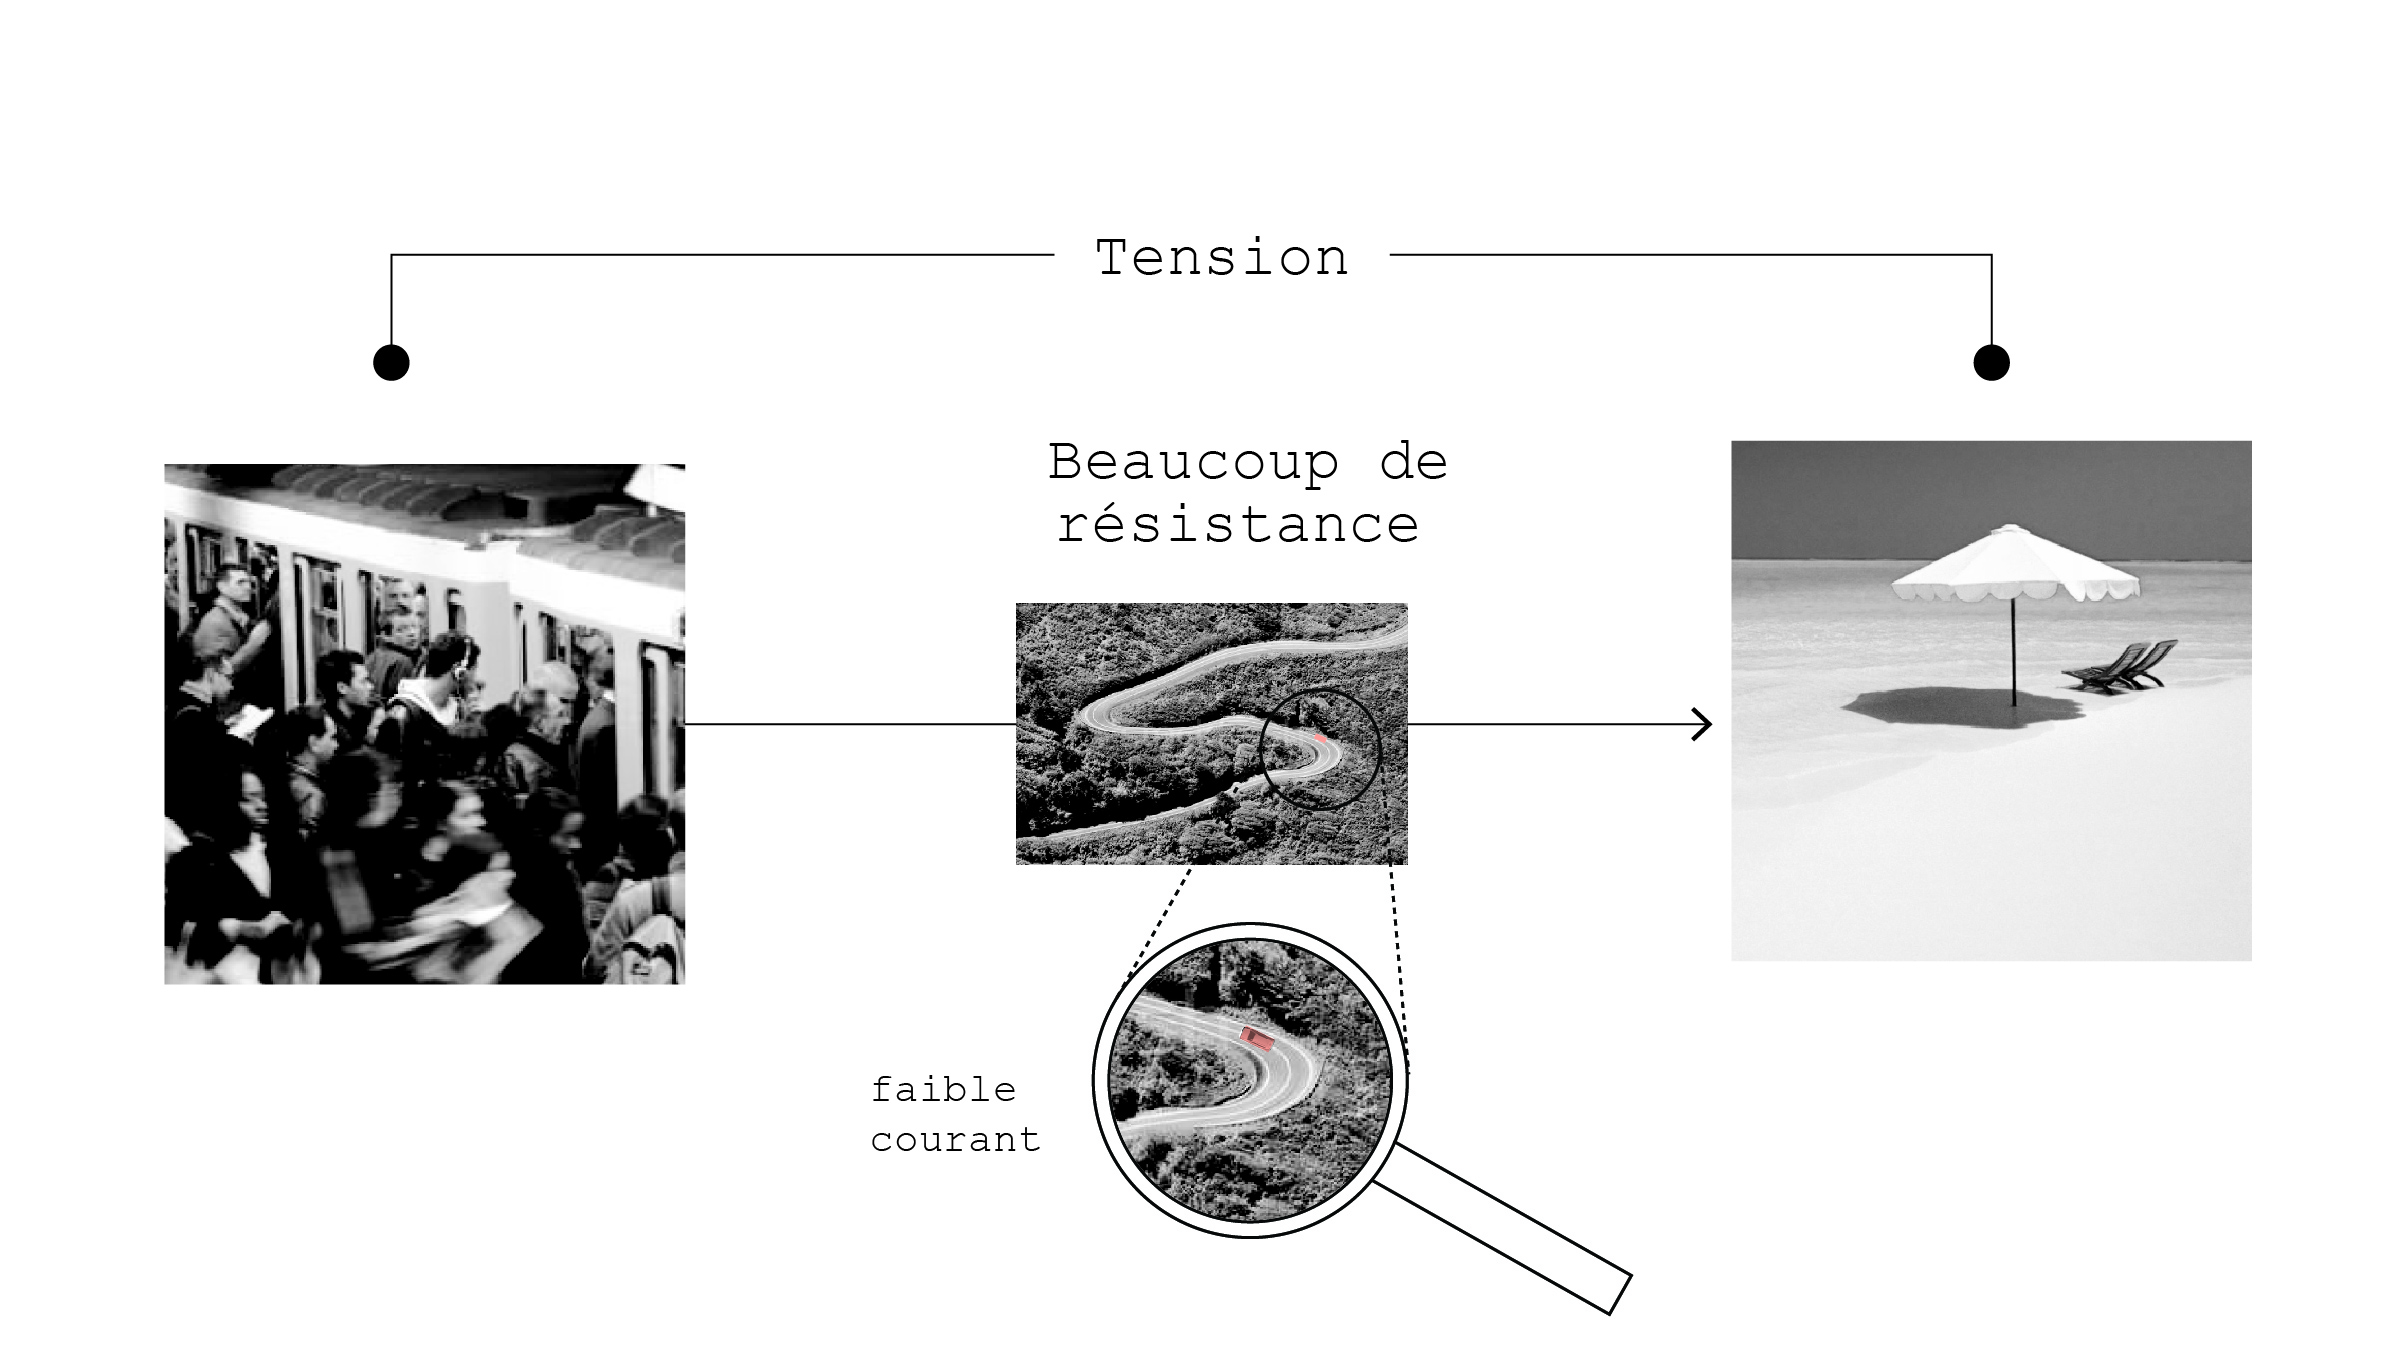
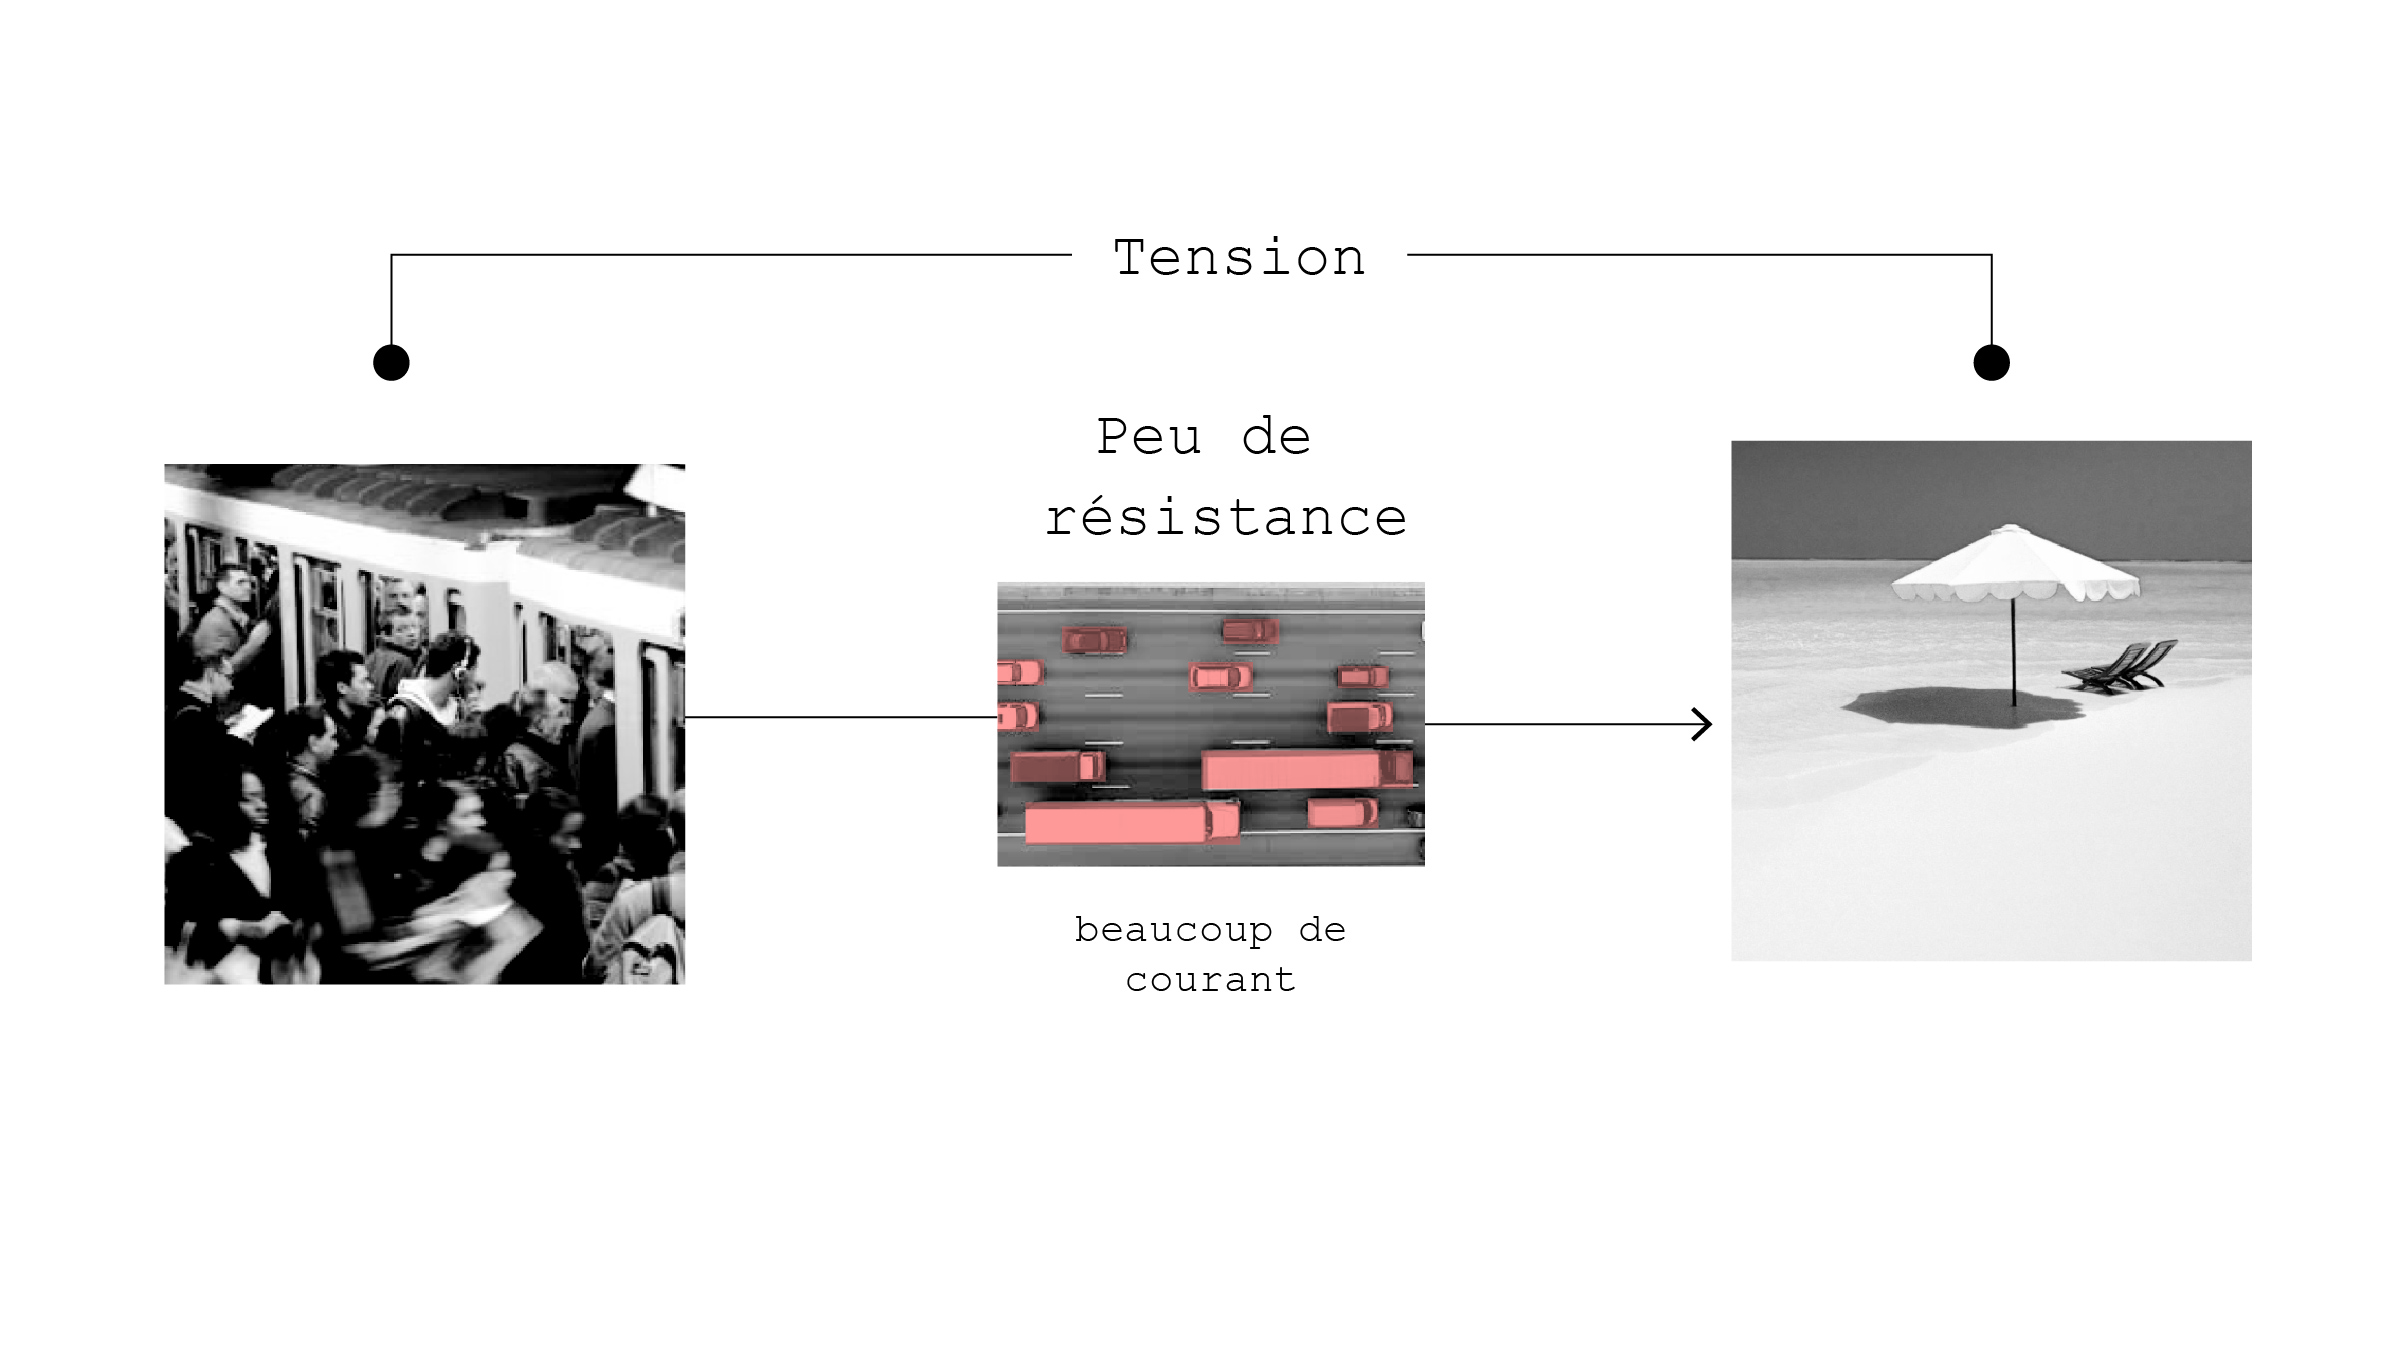
I have some new slides which use the analogy of the big city and the beach, and the different kinds of roads that exist between them:
Engraving this board takes 1 hour, and will require several passes:

The other option is to convert the board into a series of vectors.

Step 1: Export the board in png image format from eagle. (Unfortunately, ground planes make things more complicated for this process and so I work without them).
Step 2: In photoshop use the magic wand tool to select the outlines of the board.
Step 3: Path> Make Work Path transforms the selectio into a series of vector lines. Hide your original image.

Step 4: Export the vector lines in .SVG file format. I use illustrator to examine the vectors and check for errors.
Step 5: Open the .SVG file and resize it (Corel Draw will have changed the size) to the correct size. Convert the line weights to “hairline”.
This produces a different effect.
Unfortunately it doesn’t cut after 5 passes with 16/100/1 in Vector mode!


Here are the inserts for the kits:


Here are the bags for the kits:


I like the idea of using the packaging as a place where information can be stored.

Using Acetone and a printed sheet of A4 I transfered the ink to the card, of course everything has to be printed mirrored!


I prefer this way of laying out information than a tiny book with staples, it seems more practical.
Here is the instruction manual for the 8-bit register kit:

Here is the instruction manual for the logic gates kit:


Here are the other instructions:


And here is a C primer which I’m also working on:


Some ideas about how to learn to code C:
-online code bebuggers
-modular code with unit testing
-println() + LEDs
-AVR Studio breakpoints